Today we have a sponsored article from Cloudinary, where Prosper writes about setting up an Angular 2 development environment with all the different tools that are available to its ecosystem. You’ll learn a bit about TypeScript, SystemJS, and webpack.
Cloudinary is an image and video management solution on the cloud for front-end developers, and I’m super excited that they’re sponsoring us! 

Angular 2 requires a bit of setup to get started. To avoid the headaches associated with setup, the Angular team came up with the Angular CLI. The Angular 2 CLI makes it easy to create an application that just works out of the box.
Install the Angular 2 CLI globally:
npm install -g angular-cli
Note: The Angular team has decided to drop the 2 from the name. So, it is now called Angular instead of Angular 2. For the sake of this tutorial, I’ll use Angular 2 to prevent confusion from developers just trying out the framework for the first time.
Use these commands to simply create your app and run it:
ng new myapp // creates a new app
ng generate // generates components, routes, services and pipes
ng serve // serves your application in the browser
In this tutorial, we’ll avoid using the CLI and learn how to set up our development environment from scratch. Meanwhile if you are interested in using the CLI with Cloudinary, check out this great sample. Should we use SystemJS? Is Webpack the best option? How does the transpiling work? You’ll get the answers to these questions as we get our hands dirty with the nitty-gritty of setting up an Angular 2 application.
Set up Your Base Project
Quickly go ahead and create a new directory, newapp. Move into the directory and create an index.html.
<!DOCTYPE html>
<html lang="en">
<head>
<meta charset="UTF-8">
<title>Angular 2 app</title>
</head>
<body>
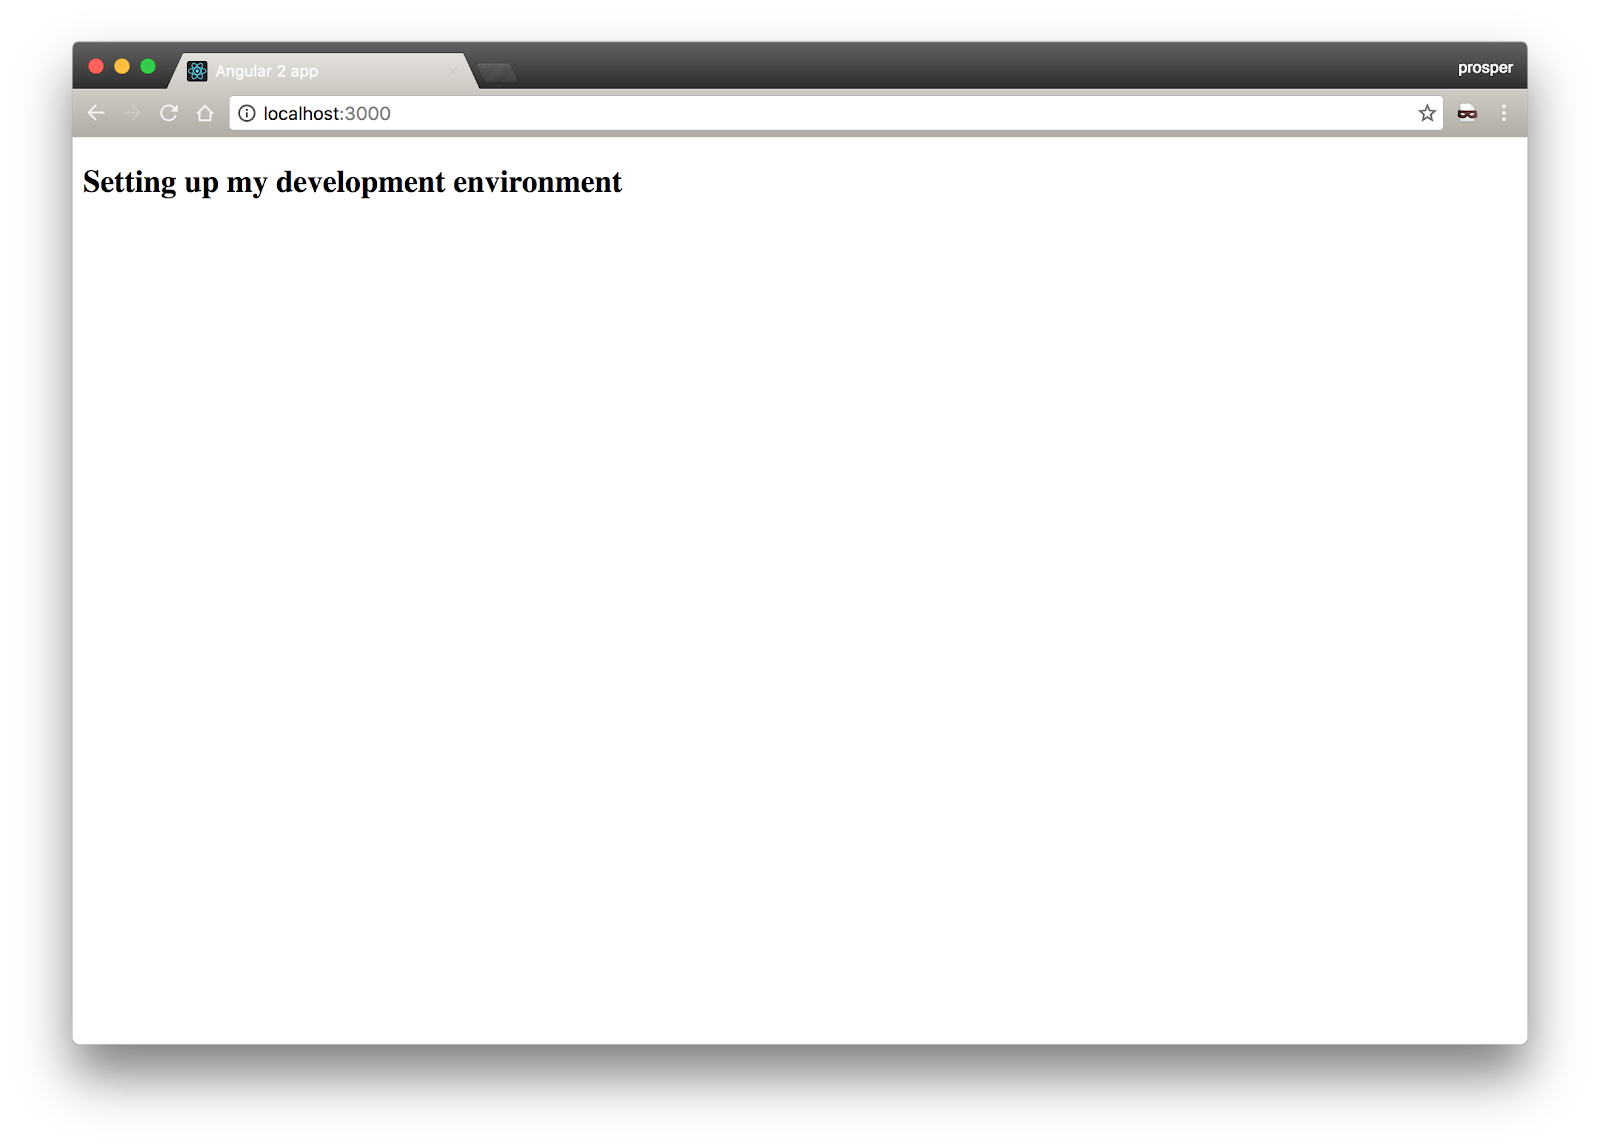
<h2>Setting up my development environment</h2>
</body>
</html>
Create another file, package.json by running the npm init command from the terminal. You can simply just type enter several times throughout all the questions been asked to speedily create the file.
Let’s install a package, lite-server, that will allow us to serve our application like so:
npm install --save-dev lite-server
Note: lite-server comes bundled with browser-sync which automatically reloads the browser when our files change.
Open up package.json to configure lite-server like so:
"scripts": {
  "test": "echo \"Error: no test specified\" && exit 1",
  "lite": "lite-server"
}
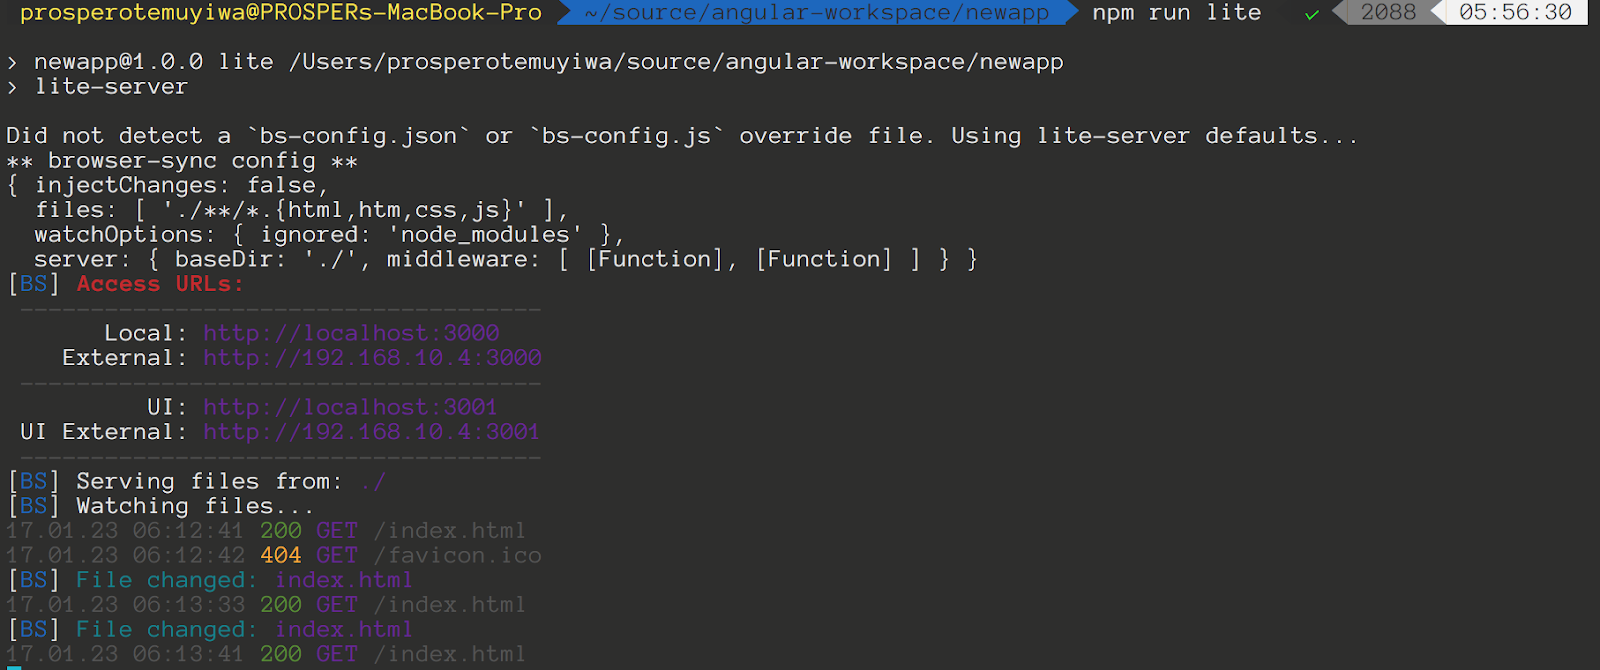
Now run npm run lite from your terminal, your browser should open up displaying your application and in your terminal, you should see something like this:
Change something within your index.html file and you’ll discover that your browser refreshes automatically and reflects that change!
Configuring the TypeScript Language
You can decide to use TypeScript or use vanilla JavaScript. Personally, I prefer TypeScript because it is JavaScript with some sugar added to it like type checking. So let’s go ahead and install TypeScript like so:
npm install --save-dev typescript
Create a file, tsconfig.json in your directory. All our TypeScript configuration live here.
Open up your tsconfig.json and add the following:
{
  "compilerOptions": {
    "target": "es5",
    "module": "commonjs",
    "moduleResolution": "node",
    "sourceMap": true,
    "emitDecoratorMetadata": true,
    "experimentalDecorators": true,
    "removeComments": false,
    "noImplicitAny": false
  }
}
Thanks to the "target": "es5" option, TypeScript will transpile our ES6 code to ES5 so that all browsers can understand the JavaScript code we write. Then we also want sourcemaps and decorators. In Angular 2, lots of decorators are used.
Go ahead and install these scoped npm packages like so:
npm install @types/node @types/core-js @types/jasmine --save-dev
The reason for installing these packages is to add type definitions to our project. It will make our editor support type-hinting, language highlighting for TypeScript, JavaScript and the modules from node we use in our code.
Open up your package.json file again, let’s add new commands in the scripts section like so:
"scripts": {
  "start": "tsc && concurrently \"npm run tsc:w\" \"npm run lite\"",
  "test": "echo \"Error: no test specified\" && exit 1",
  "lite": "lite-server",
  "tsc": "tsc",
  "tsc:w": "tsc -w"
},
So, tsc is to start up TypeScript compiler & tsc:w is to watch for file changes. We also added the start command which will run three commands together concurrently. However, you can take advantage of Angular’s AOT compiler. It replaces the usage of tsc with ngc which is Angular template compiler (a drop-in replacement for tsc).
Wait a minute! How do we run three commands concurrently? Aha! Concurrently package to the rescue.
Setting up Concurrently
Concurrently is a nodejs package that allows us to run multiple commands concurrently. Let’s pull in the package.
npm install concurrently --save-dev
Now, run npm start from the terminal to start your application with lite-server and typescript working concurrently like so:
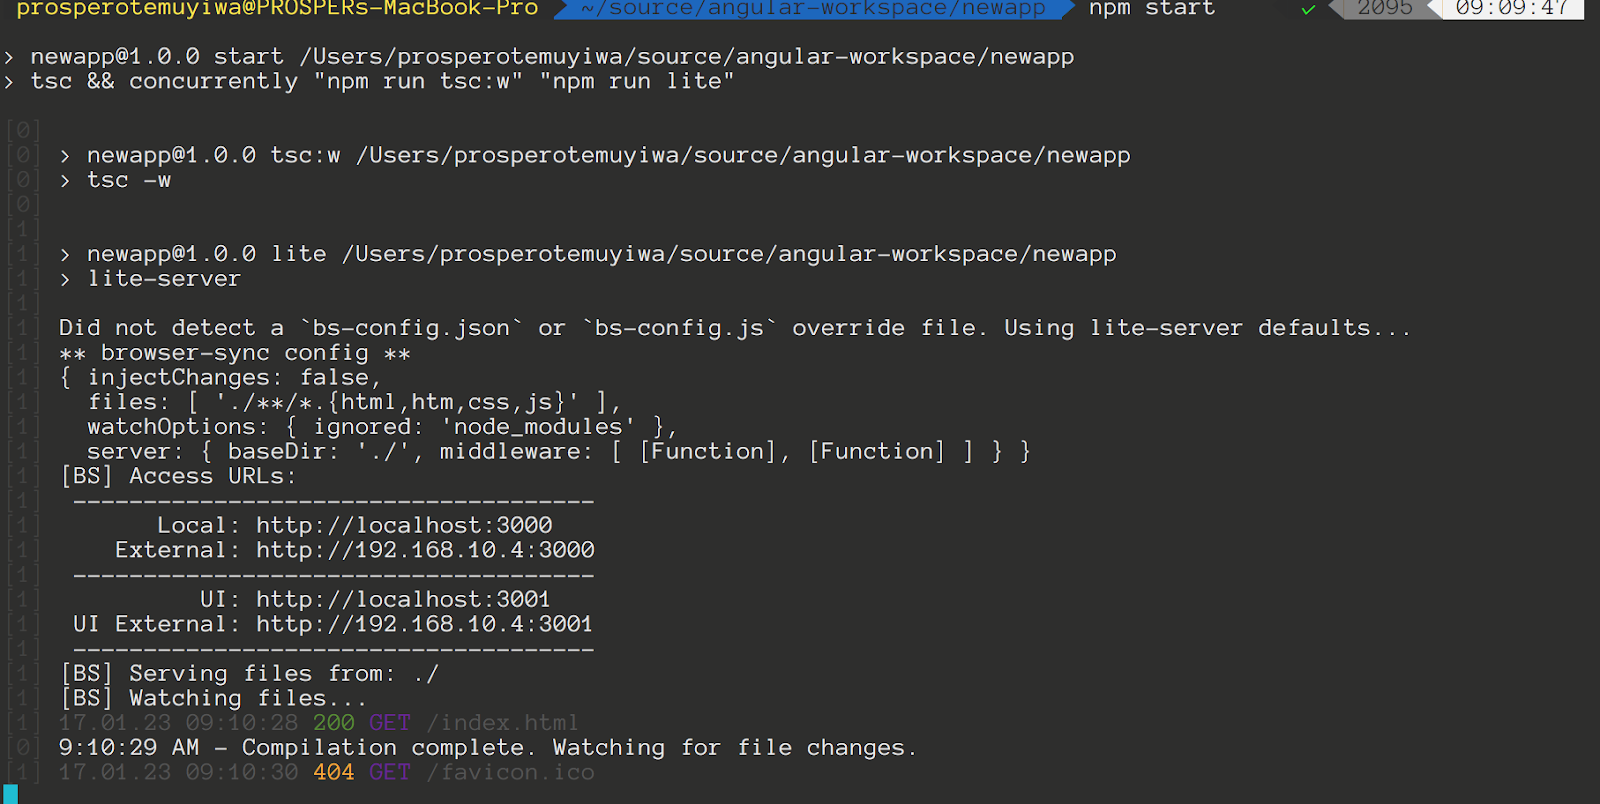
Your App is now being served locally.
Install Angular 2 Dependencies & Packages
With great power, comes great responsibilities. Angular 2 depends on some libraries & tools to wield such power.
- zone.js simply makes our debugging much productive and supports change detection in our code
- core-js standard library for JavaScript that includes polyfills for ES5, ES6, ES7 features in browsers
- rxjs hands us observables and asynchronous data streams
So let’s go ahead and install these tools like so:
npm install zone.js core-js rxjs@5.0.3 systemjs --save
Having installed these dependencies, let’s pull in some packages that we will need to set up a basic Angular 2 app.
npm install --save \
  @angular/platform-browser \
  @angular/platform-browser-dynamic \
  @angular/core \
  @angular/common \
  @angular/compiler \
  @angular/http \
  @angular/forms \
  @angular/router
Using the SystemJS package loader
We need a loader to help load all the angular packages that we use in the app. Angular needs a tool to point it to where each and every package is whenever it invokes the package functionalities. SystemJS is a universal dynamic loader. It loads ES6 modules, CommonJS, AMD and global scripts in the browser and NodeJS.
Create a new file, systemjs.config.js, the SystemJS configuration file in the root directory and add the contents of this gist to it. Take a look at the gist first, too. You’ll see something like:
...

map: {
  // our app is within the app folder
  app: 'dist',

  // angular bundles
  '@angular/core': 'npm:@angular/core/bundles/core.umd.js',
  '@angular/common': 'npm:@angular/common/bundles/common.umd.js',
  '@angular/compiler': 'npm:@angular/compiler/bundles/compiler.umd.js',
  '@angular/platform-browser': 'npm:@angular/platform-browser/bundles/platform-browser.umd.js',
  '@angular/platform-browser-dynamic': 'npm:@angular/platform-browser-dynamic/bundles/platform-browser-dynamic.umd.js',
  '@angular/http': 'npm:@angular/http/bundles/http.umd.js',
  '@angular/router': 'npm:@angular/router/bundles/router.umd.js',
  '@angular/forms': 'npm:@angular/forms/bundles/forms.umd.js',

  // other libraries
  'rxjs':                      'npm:rxjs',
  'ng2-file-upload':           'npm:ng2-file-upload',
  'cloudinary-core':           'npm:cloudinary-core',
  '@cloudinary/angular':       'npm:@cloudinary/angular',
  'Angular-in-memory-web-api': 'npm:angular-in-memory-web-api/bundles/in-memory-web-api.umd.js'
},

...
It looks for the application files to run in the app directory, you can change it to whatever directory you want. You can also see that it has specified what directory to look for angular packages, node_modules/@angular.
Take another good look at this section too:
...

// `packages` tells the System loader how to load when no filename and/or no extension
packages: {
  app: {
    main: './main.js', defaultExtension: 'js'
  },
  rxjs: {
    defaultExtension: 'js'
  },
  'ng2-file-upload': {
    main: 'ng2-file-upload.js', defaultExtension: 'js'
  },
  'cloudinary-core': {
    main: 'cloudinary-core-shrinkwrap.js', defaultExtension: 'js'
  },
  '@cloudinary/angular': {
    main: 'index.js', defaultExtension: 'js'
  }
}

...
This config lets SystemJS know how and what to load in the app.
Now head over to your index.html and reference the polyfills we installed earlier. Then load SystemJS like so:
<!DOCTYPE html>
<html lang="en">
<head>
  <meta charset="UTF-8">
  <title>Angular 2 app</title>

  <script src="node_modules/core-js/client/shim.min.js"></script>
  <script src="node_modules/zone.js/dist/zone.js"></script>

  <!-- Load our angular app with Systemjs -->
  <script src="node_modules/systemjs/dist/system.src.js"></script>
  <script src="systemjs.config.js"></script>
  <script>
    System.import('app').catch(function(err) { console.error(err); });
  </script>
</head>
<body>
  <h2>Setting up my development environment</h2>
</body>
</html>
Use Webpack as an Alternative
Webpack is a fantastic alternative to SystemJS. It is a popular module loader and bundler that helps load code from a server into a browser and generates static assets.
There are different ways of configuring Webpack for use in an Angular 2 application. One such way is installing webpack and its dev-server.
Note: Webpack 1.x was used here.
npm install webpack webpack-dev-server --save-dev
Then, you can install webpack loaders. Loaders help preprocess different types of files, so there are loaders for different files.
npm install --save-dev \
  angular2-template-loader \
  awesome-typescript-loader \
  CSS-loader \
  file-loader \
  html-loader \
  null-loader \
  raw-loader \
  style-loader \
  to-string-loader
Another advantage of using Webpack is the presence of plugins. Webpack plugins alter the behaviour of webpack for different scenarios. For example:
Definepluginis used to define environment variables that we can reference within our appUglifyJSPluginminifies the bundlesNoErrorsPluginstops the build if there is any errorExtractTextPluginextracts embedded css as external files
So, let’s install some plugins like so:
npm install --save-dev \
  html-webpack-plugin \
  webpack-merge \
  extract-text-webpack-plugin
Let’s configure Webpack. We will need a bundle for our application code, another for the vendor(angular libraries that were imported) code and a third one for the polyfills. So create a file, vendor.ts in the root directory.
import '@angular/platform-browser';
import '@angular/platform-browser-dynamic';
import '@angular/core';
import '@angular/common';
import '@angular/http';
import '@angular/router';
import '@angular/forms';
import 'rxjs';
Create another file, polyfills.ts, in the root directory like so:
import 'core-js/es6';
import 'core-js/es7/reflect';
require('zone.js/dist/zone');

if (process.env.ENV === 'production') {
  // production
} else {
  // development
  Error.stackTraceLimit = Infinity;
  require('zone.js/dist/long-stack-trace-zone');
}
Create a new file, webpack.config.js, the Webpack configuration file in the root directory like so:
module.exports = require('./config/webpack.dev.js');
Another advantage to using Webpack is the ability to have separate configuration for testing, development and production. So go ahead and create a config folder. The webpack config will reside here.
Create a file, webpack.common.js inside the config directory and add this code to it:
const webpack = require('webpack');
const HtmlWebpackPlugin = require('html-webpack-plugin');
const ExtractTextPlugin = require('extract-text-webpack-plugin');
const path = require('path');
const rootDir = path.resolve(__dirname, '..');

module.exports = {
  entry: {
    polyfills: './src/polyfills.ts',
    vendor: './src/vendor.ts',
    app: './src/main.ts'
  },
  resolve: {
    extensions: ['', '.js', '.ts']
  },
  module: {
    loaders: [{
      test: /\.ts$/,
      loaders: ['awesome-typescript-loader', 'angular2-template-loader']
    }, {
      test: /\.html$/,
      loader: 'html'
    }, {
      test: /\.(png|jpe?g|gif|svg|woff|woff2|ttf|eot|ico)$/,
      loader: 'file?name=assets/[name].[hash].[ext]'
    }, {
      test: /\.css$/,
      loaders: ['to-string-loader', 'css-loader']
    }]
  },
  plugins: [
    new webpack.optimize.CommonsChunkPlugin({
      name: ['app', 'vendor', 'polyfills']
    }),
    new HtmlWebpackPlugin({
      template: 'src/index.html'
    })
  ]
};
Create a webpack.dev.js file inside the config folder too, like so:
const webpackMerge = require('webpack-merge');
const ExtractTextPlugin = require('extract-text-webpack-plugin');
const commonConfig = require('./webpack.common.js');
const path = require('path');
const rootDir = path.resolve(__dirname, '..');

module.exports = webpackMerge(commonConfig, {
  devtool: 'cheap-module-eval-source-map',
  output: {
    path: path.resolve(rootDir, 'dist'),
    publicPath: 'http://localhost:8080/',
    filename: '[name].js',
    chunkFilename: '[id].chunk.js'
  },
  plugins: [
    new ExtractTextPlugin('[name].css')
  ],
  devServer: {
    historyApiFallback: true,
    stats: 'minimal'
  }
});
In the code above, you can see that webpack.dev.js imports the webpack.common.js and defines some extra configuration like setting a directory for the build output, defining how the source map is created and removing the compiled css from the bundle to place it in a separate file.
The advantage of using SystemJS is that the setup is not as complex and verbose as Webpack. It’s simple and straightforward but Webpack offers a whole lot more functionalities and is needed as your app grows to become complex.
Build A Sample App With Cloudinary
Cloudinary provides an API for uploading images and any other kind of files to the cloud. These files are safely stored in the cloud with secure backups and revision history.
Cloudinary already takes away the pain of having to write large amounts of code to interact with their API by providing a new open source Angular 2 SDK that ships with simple, easy-to-use helper methods for:
- Image uploading
- Image administration and sprite generation
- Embedding of images
- Image transformation and manipulation
With the Angular 2 SDK, you can also adapt images for delivery on any device. Uploaded images can be manipulated, on-the-fly to deliver each user a version that suits the requirements of the viewing device while optimizing performance. Cloudinary can automatically crop images to focus on the most important region, select the most optimal quality and format and responsively deliver the image on any device in any resolution or pixel density.
What are we waiting for? Let’s get started on how to upload images in an Angular 2 app using Cloudinary!
1. Sign up for a Cloudinary Account

2. Enable “unsigned uploads” in the “Upload Settings” of your Cloudinary console

You’ll need to grab your cloud_name from the console.
3. We’ll just build on the already existing development environment we have that utilizes SystemJS, and use a few new packages.
@cloudinary/angularis the Cloudinary Angular 2 SDK and it depends on the cloudinary JavaScript library to function.cloudinary-coreis the core Cloudinary JavaScript library .ng2-file-uploadis an Angular 2 package that allows us to upload files.
So go ahead and install the cloudinary package and file upload packages like so:
npm install --save \
  @cloudinary/angular \
  cloudinary-core \
  ng2-file-upload
Once you are done, update your systemjs.config.js to the contents of this gist file. After that, open up your tsconfig.json file and add this:
...

"outDir" : "dist"
This is to ensure that all the .js files and sourcemaps that are produced from the TypeScript files are all in one directory rather than occupy space in the other directories.
4. Create the app.component.ts, app.module.ts, app.routing.ts, app.component.css, app.component.html, config.ts, main.ts and populate them.
In the app.module.ts file, we imported the Cloudinary modules like so:
// Cloudinary module
import {
  CloudinaryModule,
  CloudinaryConfiguration,
  provideCloudinary
} from '@cloudinary/angular';
Now add your Cloudinary details in config.ts like so:
export default {
  cloud_name: 'xxxxxxx',
  upload_preset: 'xxxxxx'
};
5. We’ll deal with photo uploading, listing the photos and perform some transformations on them with the aid of Cloudinary. So go ahead and create two folders, photo-list and photo-upload inside the app directory.
In the photo-list directory, add photo-list.component.css, photo-list.component.html and photo-list.component.ts.
In the photo-upload directory, add photo-upload.component.html and photo-upload.component.ts.
Also, don’t forget to create the models for your photos! Create a models folder inside the app directory and add photo.ts and photo-album.service.ts.
Note: Add <base href="/"> to your index.html file.
So Cloudinary provides us with some ready-made Angular 2 directives like:
<cl-image>allows you to easily fetch and display image on your web page from an external service like facebook<cl-transformation>allows you to add all sorts of effects & transform the image. For a complete list of image manipulation options see the image transformations reference<cl-video>allows you to embed a video element on your web page
A typical example is:
<cl-image public-id="{some_public_id}" class="thumbnail inline" angle="20" format="jpg">
  <cl-transformation height="150" width="150" crop="fill" gravity="north" effect="sepia" radius="20"/>
</cl-image>
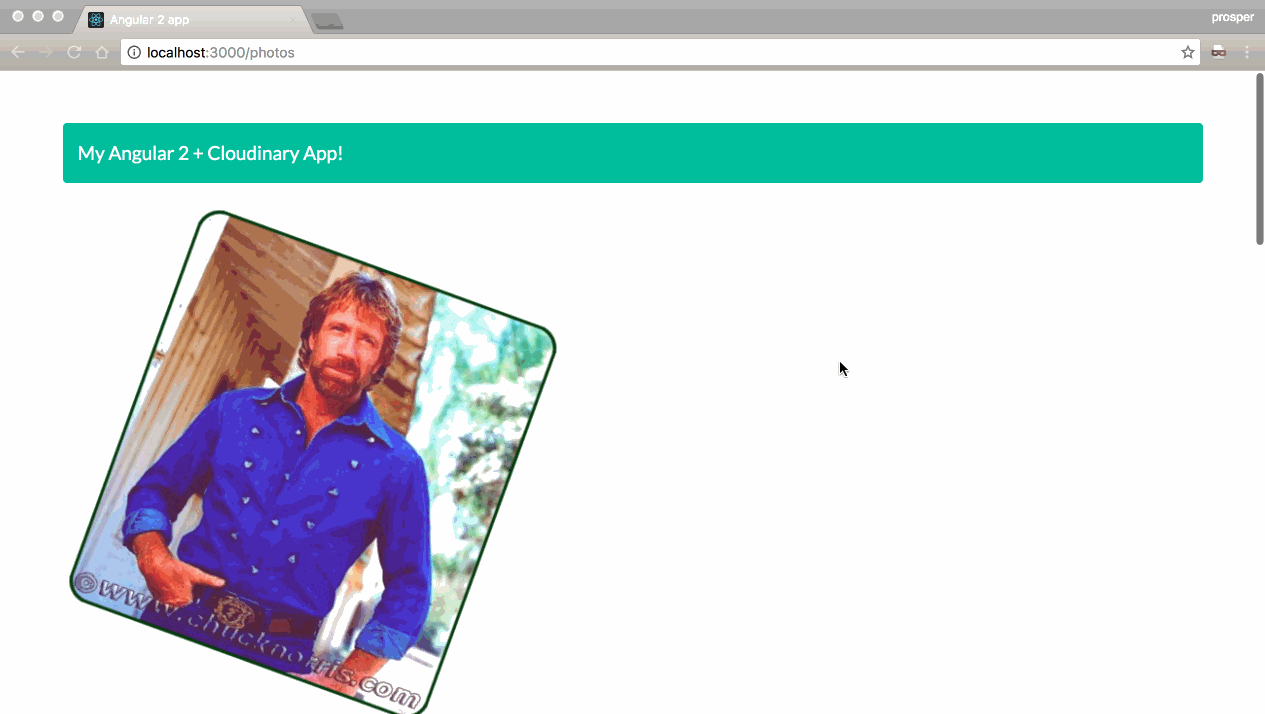
6. Try running your app. You should be able to upload, list your images and perform some transformations on them, as seen below.
The complete source code for the application with SystemJS can be found on GitHub. The source code for this application with Webpack can be found here.
This application has also been integrated with Ahead of Time Compilation (AOT) and Rollup too. Check out the source code for that.
Now, if you need a zero-setup sample, feel free to checkout this plunker sample code that demos the use Cloudinary directives such as <cl-image>.
Conclusion! 
We have looked at different ways of setting up a development environment for Angular 2 and also taken one of the easiest and very efficient approach of managing file uploads in your Angular 2 application. With Cloudinary, file management (images, videos, etc.) hassles should be a thing of the past!
For more detail on all the available Cloudinary Angular directives and components, check out the SDK documentation.
Comments