Some people say that legacy code is any code written without tests, and I am one of those people. But I’m also a front-end developer, which means that testing my code often requires a browser. This makes testing slightly more difficult, or at least I thought it was. In reality, it’s actually quite simple and in this article I’ll show you what it takes to get started!
GitHub and Travis CI
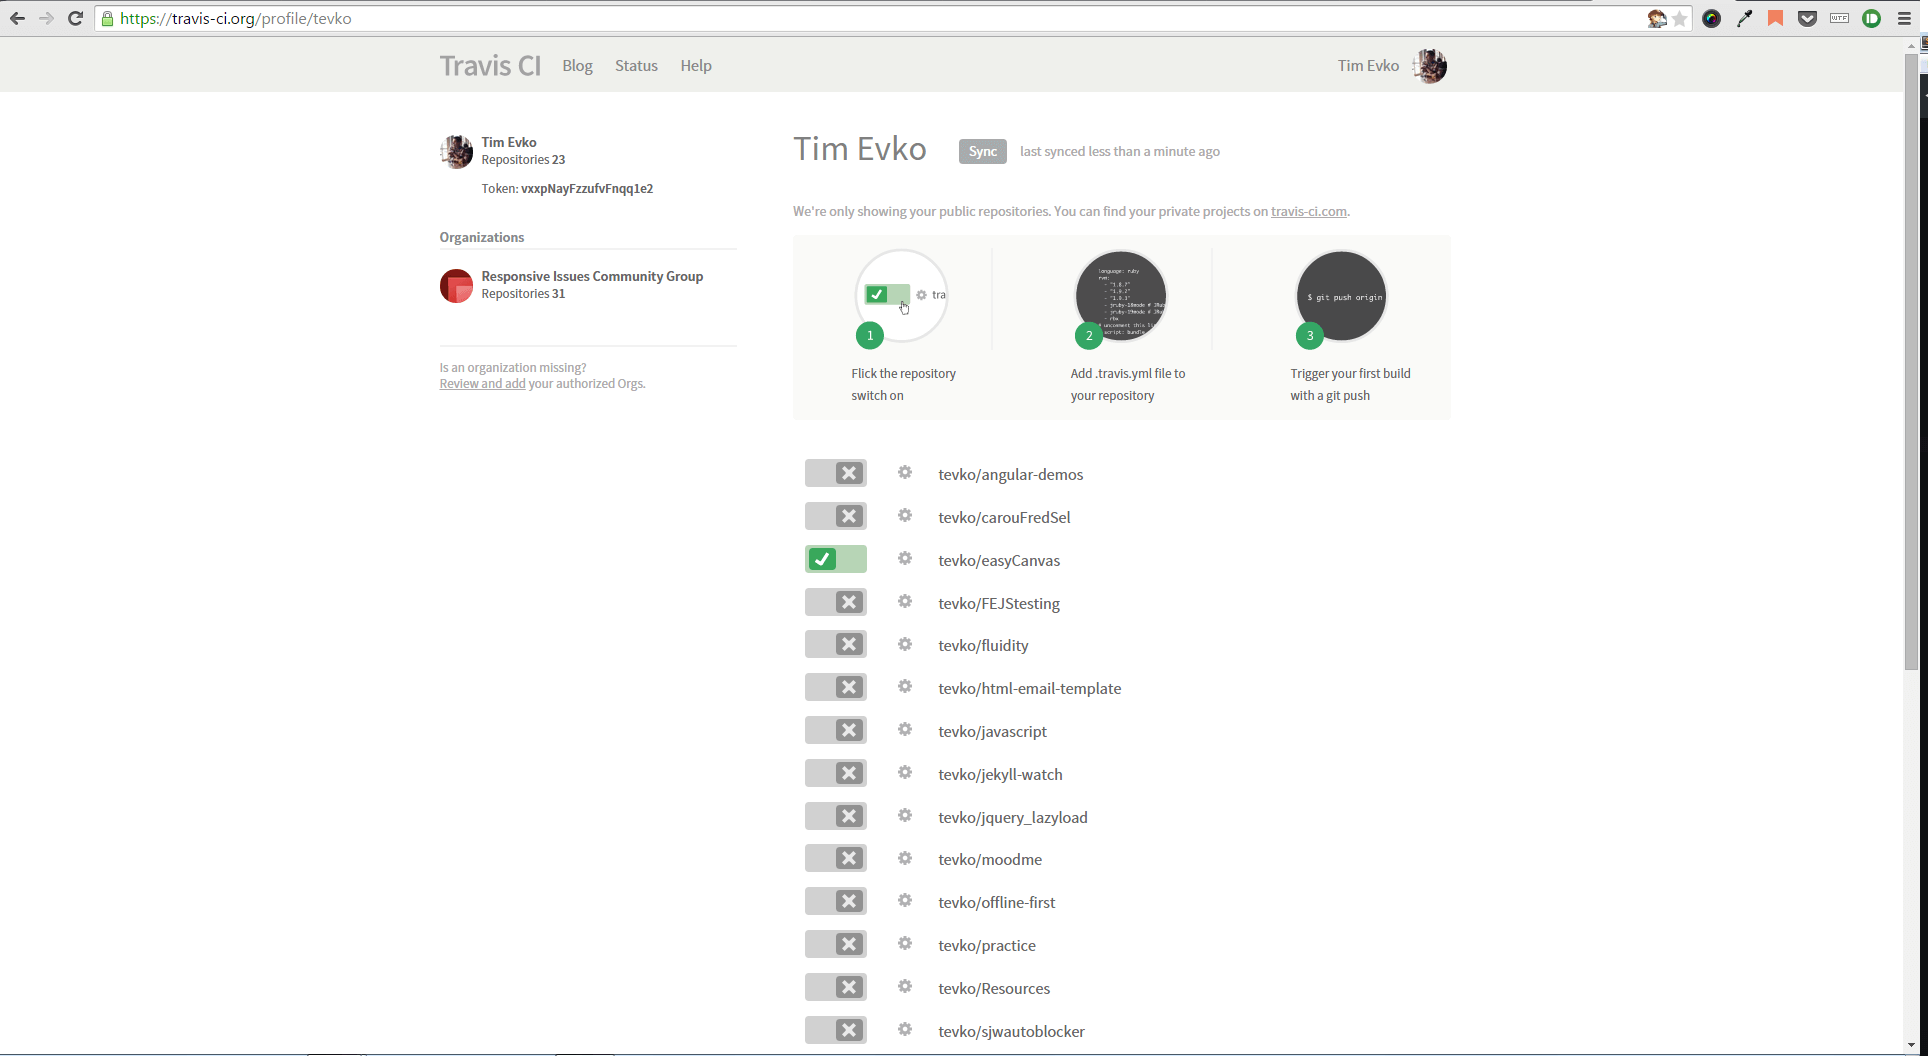
In order to test our code, we’re going to use GitHub and Travis CI. GitHub will host our code, and Travis CI will serve as the testing platform. This is all completely free for public repositories, and there’s plenty of documentation to help you in using both these products. The first thing to do is to create a repository on GitHub. For the sake of this tutorial, I’ve created a repository that you can find here. The next step is to visit the page at https://travis-ci.org/ and sign in with GitHub. Once done, you’ll need to add a repository for Travis to run tests against as shown in the image below.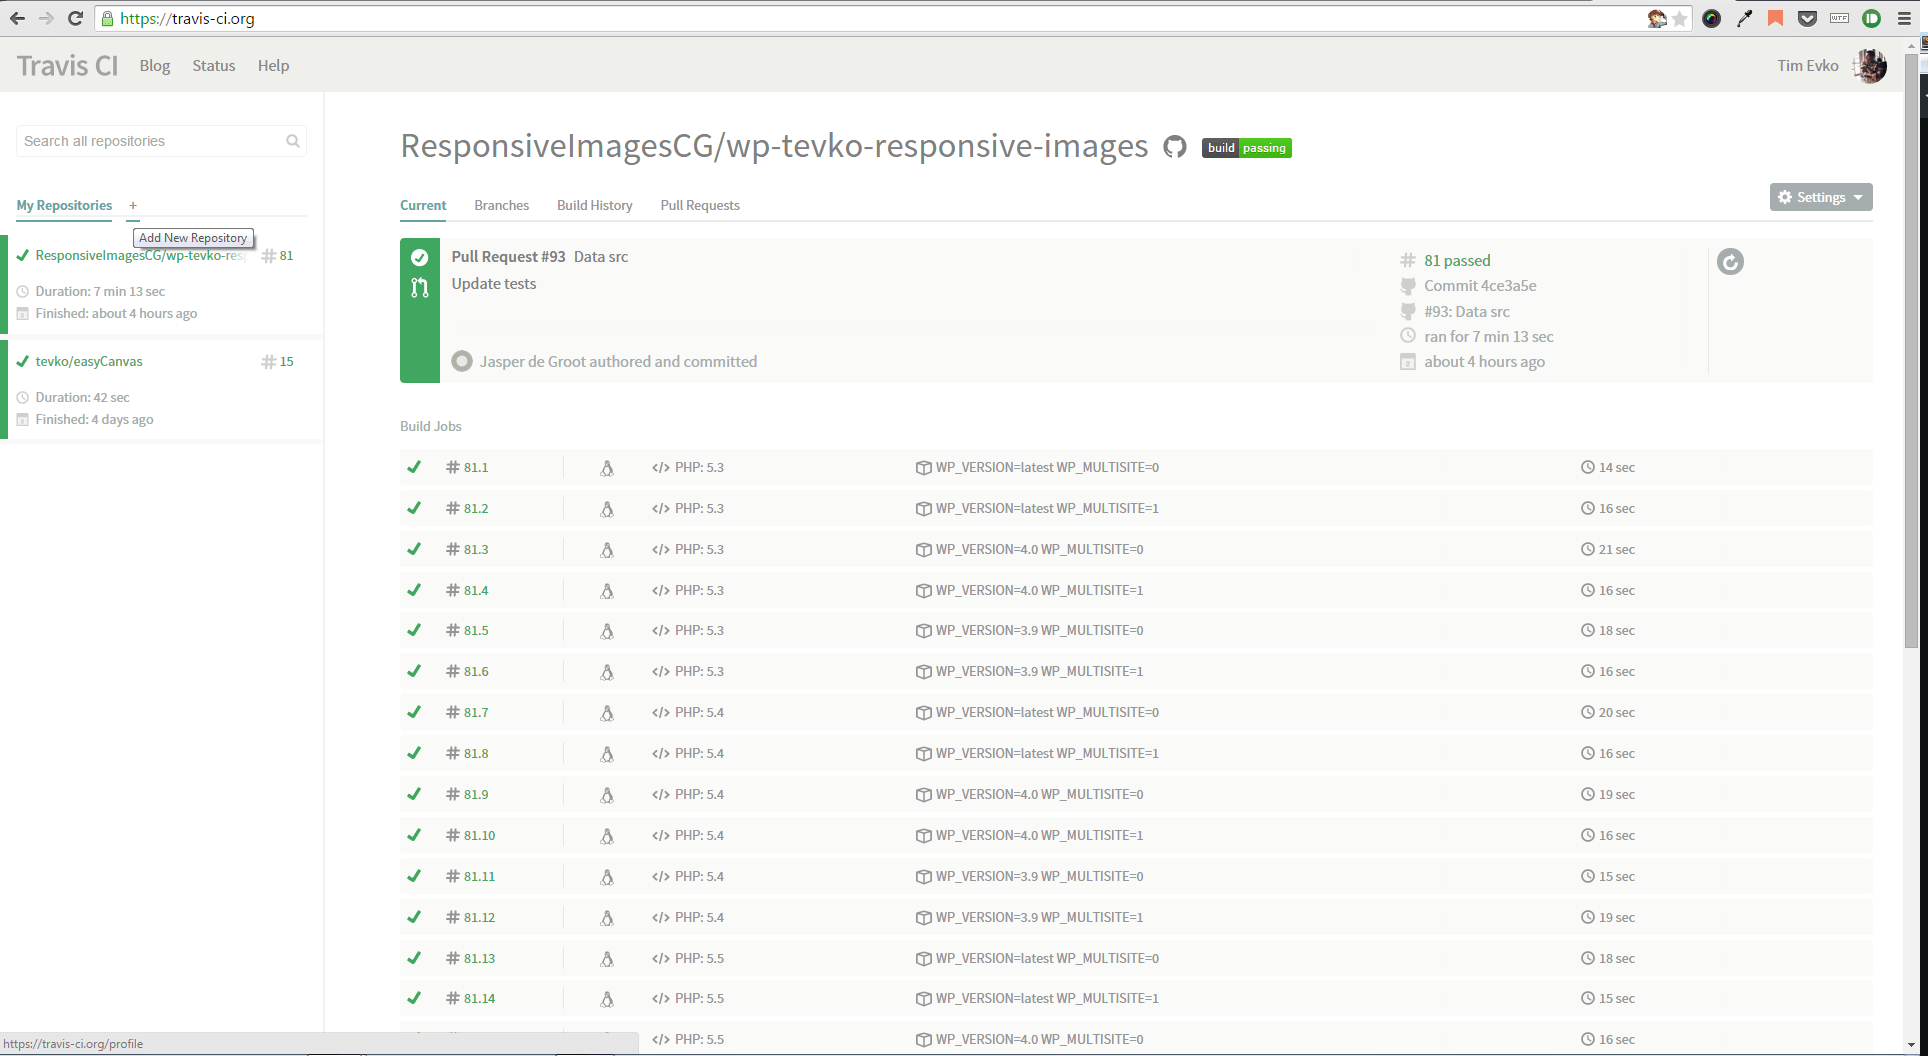 Clicking on the “plus” icon will take us to a console where we can sync with our GitHub account and choose the repository.
 The dashboard for our repository will be blank since we haven’t set up any test. Let’s now move to the next stage.
Doing Stuff with Node.js
Just like Mitochondria is the powerhouse of the cell, Node.js is going to be the powerhouse of our sweet testing setup. If you haven’t installed Node.js, visit its website and install it. Once done, clone the repository you created in the previous section so that you have all the files in your local machine. At this point, we’re ready to install Karma! Karma is a testing framework originally created by the AngularJS team. We’re going to use it to help us run Jasmine on Travis CI in Firefox. I know that sounded overwhelming, but don’t worry! Soon we’ll have some really cool tests running and it’ll all be worth it. If you don’t have already apackage.json file and the node_module folder in your repository, run npm init and complete the setup. The previous command will help you in creating the package.json file. Next, run the following command:
npm install karma --save-devnpm install karma-jasmine karma-firefox-launcher --save-devkarma init my.conf.js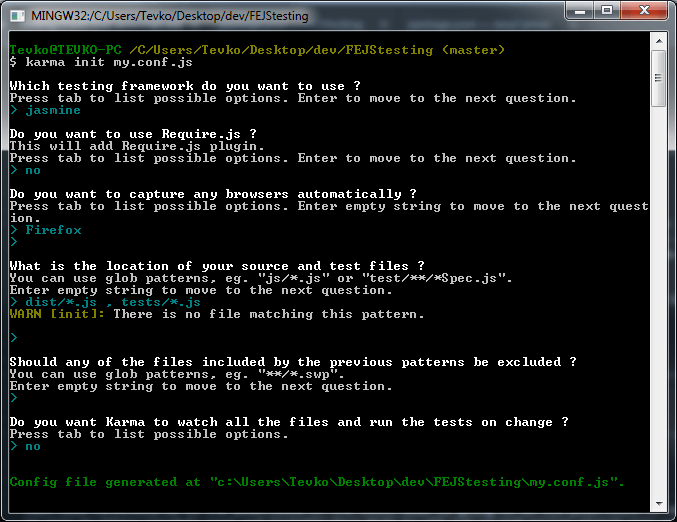 We haven’t yet created our test directory. So, when asked about the location of our source and test files, we’ll be warned that
 tests/*.js doesn’t exist. As for dist/*.js, that’s the file that I plan to run my tests against, which may be different for your project.
That’s it! Karma is good to go!
Configuring Travis
So far, Travis has no idea what to do with our repository. Let’s fix this. We’ll need to create a.travis.yml file with the following code:
language: node_js
node_js:
    - "0.10"
script: node_modules/karma/bin/karma start my.conf.js --single-run
before_install:
    - export DISPLAY=:99.0
    - sh -e /etc/init.d/xvfb start
before_script:
- npm installnpm install to grab all of the necessary plugins.
Writing Tests with Jasmine
Up to this point, we have Karma and Travis properly configured. So, we’re ready to write some tests for our JavaScript code. For my sample repository, I have a file calledcoolLibrary.js that adds a teal square to the body element and gives it a data attribute. You can see it in action on CodePen.
In order to test this code, I’ve created the tests directory mentioned in the my.conf.js file, and from there I’ll add the jasmine test files. My first test will be a simple check to ensure that there is a div on the page with a class of box. Jasmine makes this very simple with an easy-to-understand function syntax. Here’s what the first test (checkIfDivExists.js) looks like:
describe('getDiv', function() {
    var d = document.querySelector('.box');

    it('Should exist', function() {
        expect(d.nodeName).toBe('DIV');
    });
});box, and expects its node name to be DIV. The syntax is pretty straightforward.
In addition to the previous test, I’ll also create two more tests that you can find in the GitHub repository for this project and that are copied below for your commodity:
describe('getDivBg', function() {
    var d = document.querySelector('.box');

    it('Should be teal', function() {
        expect(d.style.backgroundColor).toBe('teal');
    });
});

describe('getDivAttribute', function() {
    var d = document.querySelector('.box');

    it('Should be bar', function() {
        expect(d.getAttribute('foo')).toBe('bar');
    });
});
Running the Tests
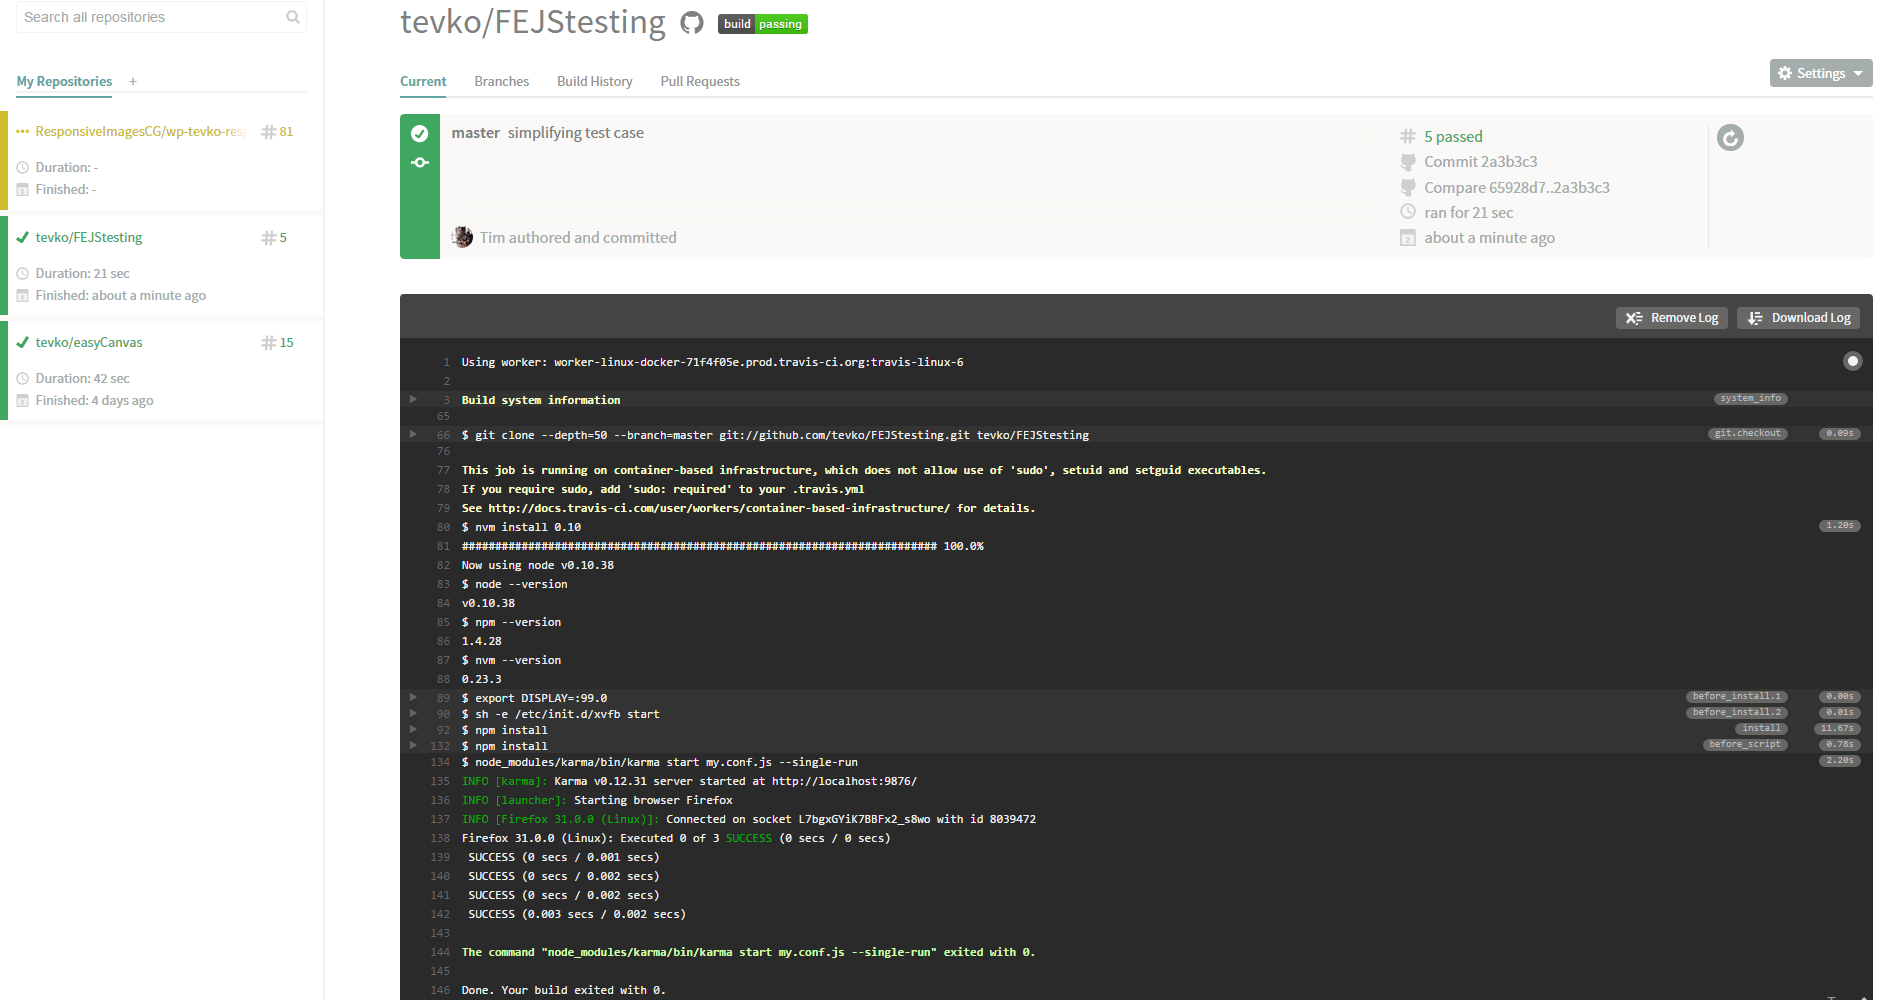
With the tests for our code in place, our final step is to commit our code. This will add all of our testing logic and trigger a build on Travis. Don’t forget to have a.gitignore file that ensures your node_modules folder isn’t pushed into the repository! Once you commit and push your code, Travis will automatically detect the changes and run your tests. The process may take a few minutes, but you’ll be alerted via email as soon as the build is complete.
Success!
 You can create as many tests as you need, and GitHub will make sure to check incoming pull requests against these tests as well.
Conclusion
In this tutorial we learned how to set up a simple testing environment for our JavaScript code using Karma, Jasmine, and Travis. Feel free to see the final result at https://github.com/sitepoint-editors/FEJStesting and sound off with any questions or concerns in the comments! You can view the latest test on Travis at https://travis-ci.org/tevko/FEJStestingFrequently Asked Questions about JavaScript Testing with Jasmine, Travis, and Karma
What is the main difference between Jasmine and Karma?
Jasmine and Karma are both popular tools used for testing JavaScript code, but they serve different purposes. Jasmine is a behavior-driven development (BDD) framework for testing JavaScript code. It does not depend on any other JavaScript frameworks or a Document Object Model (DOM). It provides functions to help with structuring your tests and also making assertions. As for Karma, it is a test runner for JavaScript that runs on Node.js. It is suitable for development and it is designed to work with any testing framework, Jasmine included. In essence, Jasmine is used to write tests and Karma is used to execute them.
How can I integrate Travis CI with Jasmine and Karma for continuous integration?
Travis CI is a continuous integration service used to build and test software projects hosted on GitHub. To integrate Travis CI with Jasmine and Karma, you need to add a .travis.yml configuration file to your project. This file will instruct Travis on how to build your project. The configuration may vary depending on the specifics of your project, but generally, you will need to specify the language (JavaScript), the versions of Node.js to use, and the script to run for testing, which would be the Karma start command.
How can I write a test case in Jasmine?
Writing a test case in Jasmine involves describing a suite of tests with the global Jasmine function describe(), and then defining the tests within that suite using the global Jasmine function it(). Each test will contain one or more expectations that test the state of the code. An expectation in Jasmine is an assertion that can be either true or false. Here is a simple example:describe("A suite", function() {
it("contains spec with an expectation", function() {
expect(true).toBe(true);
});});
How can I install and configure Karma?
To install Karma, you need to have Node.js and npm (node package manager) installed on your machine. You can install Karma using npm by running the command npm install karma --save-dev. After installing Karma, you need to add a Karma configuration file to your project. This can be done by running the command ./node_modules/karma/bin/karma init my.conf.js and then following the prompts to create the configuration file.
What are some common issues I might encounter when using Jasmine, Travis, and Karma, and how can I troubleshoot them?
Some common issues include tests failing due to unexpected behavior, Travis CI build failures, and Karma not running tests as expected. Troubleshooting these issues often involves checking your test cases for errors, ensuring your .travis.yml file is correctly configured, and checking the Karma configuration file for errors. Additionally, all these tools have extensive documentation and active communities online, so searching for your issue or asking for help in these places can often provide a solution.
How can I use spies in Jasmine for mocking and stubbing?
Spies are a great way to simulate function calls and check how they are used. They are created with jasmine.createSpy(). Once a spy is created, you can chain methods like .and.callThrough(), .and.returnValue(), and .and.callFake() to control its behavior. You can also use .toHaveBeenCalled() and .toHaveBeenCalledWith() to check how the spy was called.
How can I run a single test or a specific suite of tests in Jasmine?
Jasmine provides the functions fdescribe() and fit() to focus on specific suites or tests. By replacing describe() with fdescribe() or it() with fit(), you can run only the suites or tests that are marked with these functions.
How can I set up code coverage with Karma and Jasmine?
Code coverage can be set up with Karma and Jasmine using the karma-coverage plugin. This plugin uses Istanbul under the hood for instrumenting your code. Once the plugin is installed and configured, it will generate a coverage report every time your tests are run.
How can I use async and done in Jasmine for asynchronous testing?
Jasmine provides the done function for testing asynchronous code. If done is passed as an argument to your test function, Jasmine will wait until done is called before moving on to the next test. Here’s an example:it("async test example", function(done) {
setTimeout(function() {
expect(true).toBe(true);
done();
}, 100);});
How can I use beforeEach and afterEach in Jasmine?
beforeEach and afterEach are functions in Jasmine that are called before and after each test in a suite, respectively. They are useful for setting up and tearing down test environments, which can help prevent tests from affecting each other. Here’s an example:describe("A suite with beforeEach and afterEach", function() {
let foo = 0;
beforeEach(function() {
foo += 1;
});
afterEach(function() {
foo = 0;
});
it("test example", function() {
expect(foo).toEqual(1);
});});
 Tim Evko
Tim Evko is a front end web developer from New York, with a passion for responsive web development, Sass, and JavaScript. He lives on coffee, CodePen demos and flannel shirts.


