
Svelte is a next generation way of building user interfaces.
While frameworks like React, Vue and Angular do the bulk of their work in the browser, Svelte takes it to the next level. It does its work when you build the app and it compiles your Svelte app to efficient vanilla JavaScript. So you get the best of both worlds. You write your code in Svelte which makes it easy to read, re-use and all the other benefits you get when you use a framework, and it makes for a blazing-fast web app as it complies down to vanilla JavaScript so that you don’t have the overhead of the JavaScript framework you’re using.
Svelte allows you to write less code. It also doesn’t use the concept of the Virtual DOM popularized by React. It instead surgically updates the DOM when the state of the app changes so the app starts fast and stays fast.
Prerequisites
For this tutorial, you need a basic knowledge of HTML, CSS and JavaScript.
You must also have installed the latest version of Node.js.
We’ll also be using npx, which comes installed by default with Node.js.
Throughout this tutorial we’ll be using yarn. If you don’t have yarn already installed, install it from here.
To make sure we’re on the same page, these are the versions used in this tutorial:
- Node 12.10.0
- npx 6.11.3
- yarn 1.17.3
Getting Started with Svelte
In this tutorial, we’ll be building a Tic Tac Toe game in Svelte. By the end, you’ll be able to get up and running quickly with Svelte and get started in building your own apps in Svelte.
To get started, we must scaffold our app using degit. degit is more or less the same as git clone, but much quicker. You can learn more about it here.
Go ahead and make a new project by typing the following in the terminal:
$ npx degit sveltejs/template tic-tac-toe-sveltenpx lets you use the degit command without installing it globally.
Before npx, we would have to do the two following steps to achieve the same result:
$ npm install --global degit
$ degit sveltejs/template tic-tac-toe-svelte
Thanks to npx, we don’t bloat our global namespace, and we always use the latest version of degit.
degit clones the repo https://github.com/sveltejs/template into a tic-tac-toe-svelte folder.
Go ahead into the tic-tac-toe-svelte directory and install the dependencies by typing the following in the terminal:
$ cd tic-tac-toe-svelte
$ yarn
Now run the application by typing the following in the terminal:
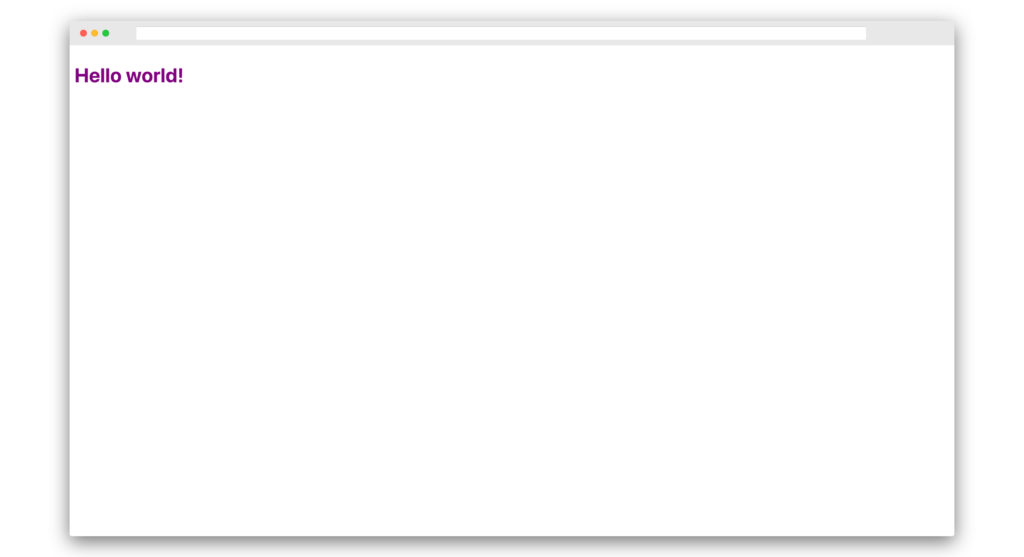
$ yarn devNow open up the browser and go to http://localhost:5000 and you should see the following:
If you go into the src/ folder, you’ll see two files, App.svelte and main.js. main.js is the entry point of a Svelte app.
Open up the main.js and you should see the following:
import App from './App.svelte';

const app = new App({
    target: document.body,
    props: {
        name: 'world'
    }
});

export default app;
The above file imports App.svelte and instantiates it using a target element. It puts the component on the DOM’s document.body. It also passes name props to the App component. This prop will be accessed in App.svelte.
Components in Svelte are written using .svelte files which contain HTML, CSS and JavaScript. This will look familiar if youse worked with Vue.
Now open up App.svelte and you should see the following:
<script>
    export let name;
</script>

<style>
    h1 {
        color: purple;
    }
</style>

<h1>Hello {name}!</h1>
Firstly, we have the script tag inside, in which we have a named export called name. This should be similar to the prop mentioned in main.js.
Then we have a style tag that lets us style all the elements in that particular file, which is scoped to that file only so there’s no issue of cascading.
Then, at the bottom, we have an h1 tag, inside which we have Hello {name}!. The name in curly brackets will be replaced by the actual value. This is called value interpolation. That’s why Hello world! is printed on the screen.
Basic Structure of a Svelte Component
All .svelte files will basically have the following structure:
<script>
    /* Javascript logic */
</script>

<style>
    /* CSS styles */
</style>

<!-- HTML markup -->
The HTML markup will have some additional Svelte-specific syntax, but the rest is just plain HTML, CSS and JavaScript.
Making Tic Tac Toe in Svelte
Let’s get started with building our Tic Tac Toe game.
Replace main.js with the following:
import App from './App.svelte'

const app = new App({
  target: document.body,
})

export default app
We’ve basically removed the props property from App component instantiation.
Now replace App.svelte with the following:
<script>
const title = "Tic Tac Toe";
</script>
<svelte:head>
<title>{title}</title>
</svelte:head>
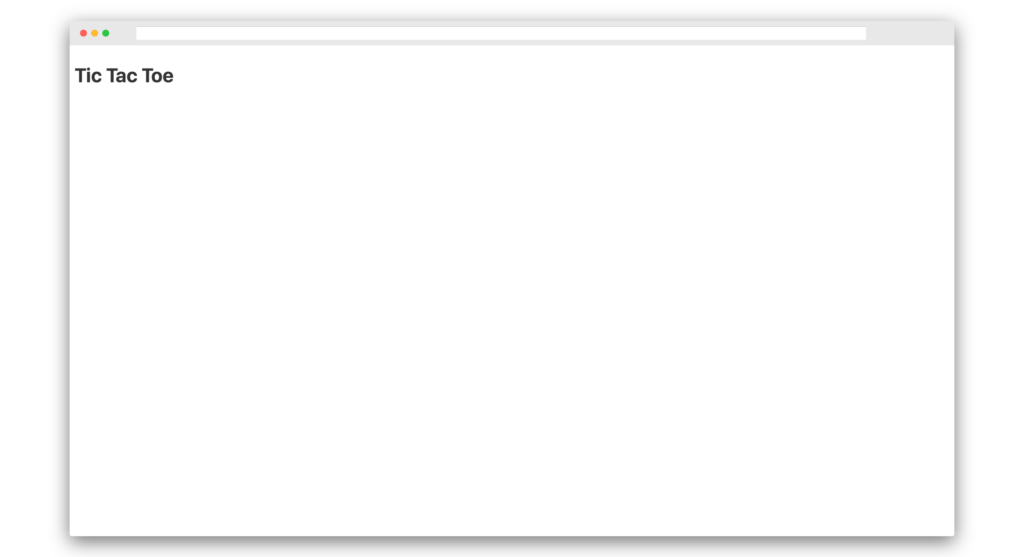
<h1>{title}</h1>Here, we initialize a constant variable title with a string Tic Tac Toe.
Then, in the markup below, we use a special Svelte syntax, svelte:head, to set the title property in the head tag.
This is basically similar to doing this:
<head>
    <title>Tic Tac Toe</title>
</head>
But the advantage of using the svelte:head syntax is that the title can be changed at runtime.
We then use the same title property in our h1 tag. It should now look like this:
Now create two other files in the src/ directory named Board.svelte and Square.svelte.
Open Square.svelte and paste in the following:
<script>
  export let value;
</script>

<style>
  .square {
    flex: 1 0 25%;
    width: 50px;
    height: 70px;
    background-color: whitesmoke;
    border: 2px solid black;
    margin: 5px;
    padding: 5px;
    font-size: 20px;
    text-align: center;
  }

  .square:hover {
    border: 2px solid red;
  }
</style>

<button class="square">{value}</button>
Basically, we’re creating a button and styling it.
Now open up Board.svelte and paste the following:
<script>
  import Square from "./Square.svelte";
  let squares = [null, null, null, null, null, null, null, null, null];
</script>

<style>
  .board {
    display: flex;
    flex-wrap: wrap;
    width: 300px;
  }
</style>

<div class="board">
  {#each squares as square, i}
    <Square value={i} />
  {/each}
</div>
Here we’ve imported the Square component. We’ve also initialized the squares array, which will contain our X and 0’s data which is currently null.
Each Loop in Svelte
In the HTML markup, we’ve used a special Svelte syntax for looping. This is similar to the Array.forEach loop in vanilla JavaScript. The syntax looks like this:
{#each squares as square, i}
<Square value={i} />
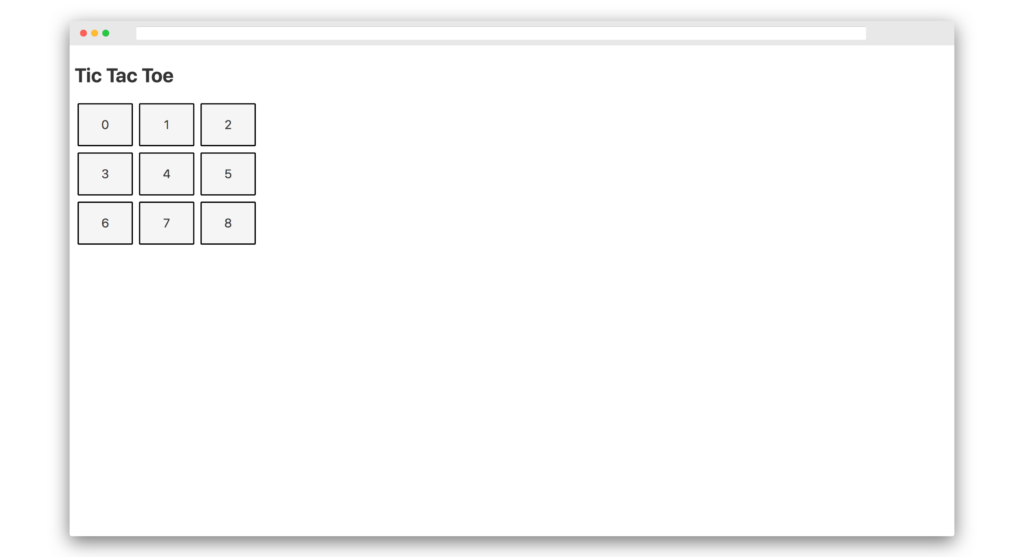
{/each}It loops over nine times, since squares.length is equal to 9. The value of square in the first iteration is null, since the first item is null and the value of i is 0 because the index is 0 the first time. The value of square remains null in every iteration, since all values of the squares array are null currently, but the value of i keeps incrementing from 0 to 8 as it’s the index value.
It then passes the value of i as the value prop to the Square component.
It should now look like this:
Now that we have the squares in place, let’s add some logic.
Firstly, we need to display the next move, whether its X or 0. Also, let’s make sure the squares can be clicked with X and 0.
To do that, add the following code to Board.svelte:
<script>
  .
  .
  .

  let xIsNext = true;
  $: status = "Next Player: " + (xIsNext ? "X" : "0");

  function handleClick(i) {
    if (!squares[i]) {
      squares[i] = xIsNext ? "X" : "0";
      xIsNext = !xIsNext;
    }
  }
</script>

<style>
  h3 {
    color: red;
  }
  .
  .
  .
</style>

<h3>{status}</h3>

<div class="board">
  {#each squares as square, i}
    <Square value={square} handleClick={() => handleClick(i)} />
  {/each}
</div>
The above code initializes a variable xIsNext to be a boolean. This boolean will keep on toggling with respect to the next move.
If X is the next move, then xIsNext will be true. If 0 is the next move, then xIsNext will be false. By default, it’s set to be true.
Then we have status variable. This is a special type of variable known as a reactive assignment. If you put a dollar ($) sign in front of it, it becomes reactive to the changes. So if xIsNext changes again, then status will be updated to its new value. When xIsNext equals true, status will be Next Player: X, and when xIsNext equals false, status will be Next Player: 0.
Then we pass the value prop as square. This will display X or 0 depending on the content.
Then we have a handleClick function that gets called when a square is clicked on. The handleClick function needs to be passed to the Square component as a prop, where it’s implemented to listen to a click. So without changing Square.svelte, the click on the square won’t work.
Anyhow, the handleClick function gets passed an index i since we have to store the contents of the board in our square array for comparison if someone won or lost or to check if it’s a draw.
The first line, which is an if condition, is required to make sure we don’t change a square’s content if it’s already filled. If it’s already null, only then will it enter inside the if conditions body.
The second line checks the value of xIsNext and if it’s true, then it puts X as the square’s value, and, if it’s false, then it puts 0 as the square’s value.
Finally, xIsNext is toggled to play the next move.
Now edit Square.svelte as follows:
<script>
  .
  .
  .
  export let handleClick;
</script>

<style>
  .
  .
  .
</style>

<button class="square" on:click={handleClick}>{value || ""}</button>
The only thing we added here is a named export handleClick, and an on:click handler on button, which points to handleClick. This is passed from Board.svelte. Without the above code, the click won’t work. Also, we display the contents inside the button only if it’s not null — that is, we only display if X and 0 is present.
It now looks like this:
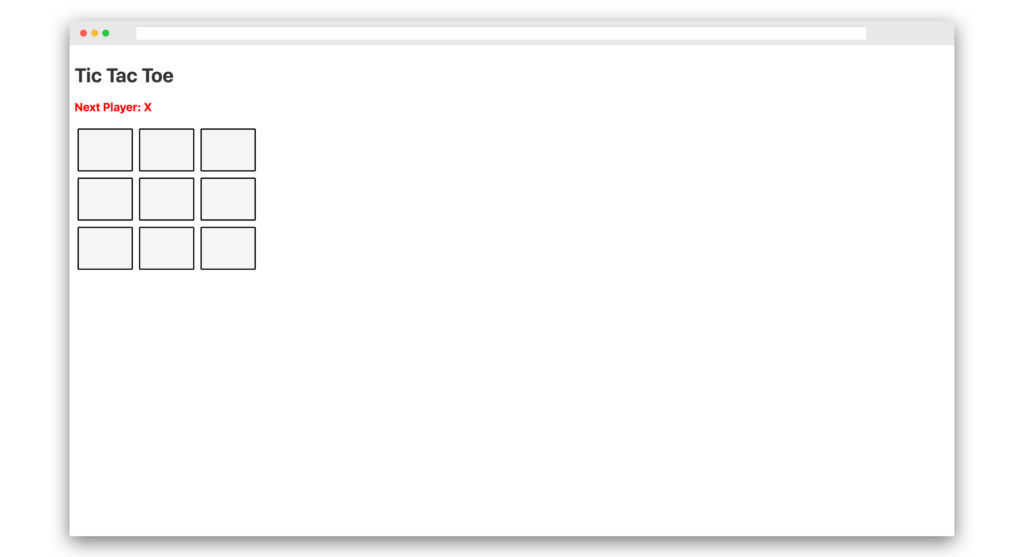
If you try clicking inside the squares, then X and 0 will show appropriately. You can also see the status change properly as follows:

Finding a Winner
Now that we can play the game, let’s figure out how to find a winner, a loser or to check if it’s a draw.
Open up Board.svelte and add the following:
<script>
  let winner = null;
  .
  .
  .
  function handleClick(i) {
    if (!squares[i]) {
      squares[i] = xIsNext ? "X" : "0";
      xIsNext = !xIsNext;
      winner = calculateWinner(squares);
    }
  }

  function calculateWinner(squares) {
    const winningCombo = [
      [0, 1, 2],
      [3, 4, 5],
      [6, 7, 8],
      [0, 3, 6],
      [1, 4, 7],
      [2, 5, 8],
      [0, 4, 8],
      [2, 4, 6]
    ];
    for (let i = 0; i < winningCombo.length; i++) {
      const [a, b, c] = winningCombo[i];
      if (squares[a] && squares[a] === squares[b] && squares[a] === squares)
        return `Winner: ${squares[a]}`;
    }

    const isDraw = squares.every(square => square !== null);
    return isDraw ? "It's a draw" : null;
  }
</script>

.
.
.

{#if winner}
  <h3>{winner}</h3>
{:else}
  <h3>{status}</h3>
{/if}

<div class="board">
  .
  .
  .
</div>
In the above code, we initialize a winner variable which keeps track of the winner. Initially, it’s null. Then after every click we call the calculateWinner as you can see in handleClick function and set its return value to winner.
calculateWinner is a function which takes in the squares array and decides a winner. winningCombo is an array which determines the winning combination. To win an X and 0 match, you need to either have a straight line vertically and horizontally or a diagonal line. The above array is a possible list of winning combinations.
In the for loop, we check if the values inside the squares array are in a straight line (horizontal or vertical) or diagonal line by comparing the indexes. If they are, then we declare a winner. If they aren’t, we check if all the values are filled and if it’s true, then it’s a draw, since we have no more places to play X and 0. Otherwise, we return null if the game is still on.
Finally, we add Svelte-specific syntax for if...else. If winner is not null, display the winner, else display the status.
If someone wins, it should now look like this:

And if it’s a draw, it should now look like this:

Now let’s add a way to restart the game.
In the same Board.svelte file, add the following:
<script>
  .
  .
  .
  function restartGame() {
    squares = [null, null, null, null, null, null, null, null, null];
    xIsNext = true;
    winner = null;
  }
  .
  .
  .
</script>

.
.
.

{#if winner}
  <button on:click={restartGame}>Restart Game</button>
{/if}
The above code will add a button Restart Game to the app, which will call the restartGame function that resets all the necessary values for a fresh start.
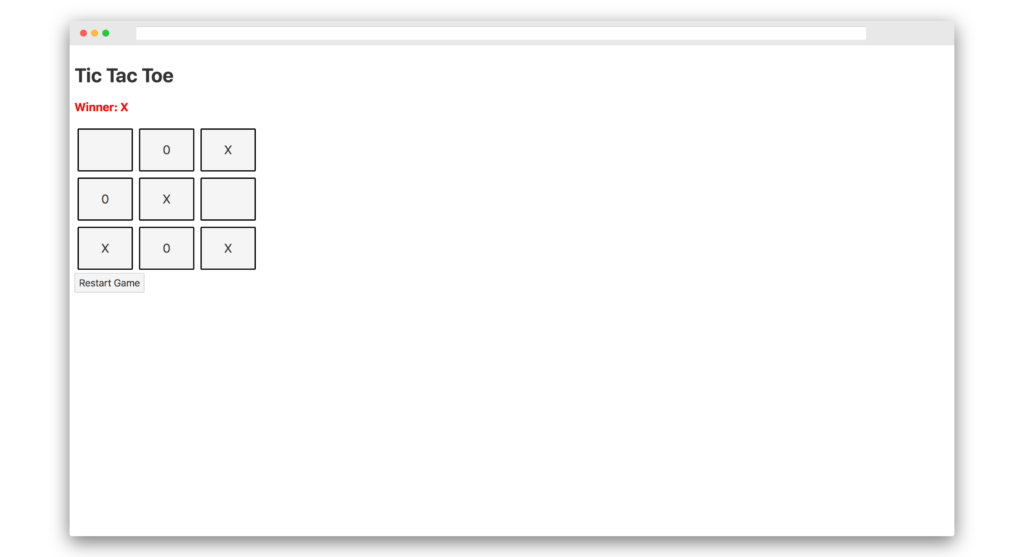
So if you either win a game or get a draw, you should see the following screen with the Restart Game button:
The entire Board.svelte file should now look like this:
<script>
  import Square from "./Square.svelte";

  let winner = null;
  let squares = [null, null, null, null, null, null, null, null, null];
  let xIsNext = true;
  $: status = "Next Player: " + (xIsNext ? "X" : "0");

  function restartGame() {
    squares = [null, null, null, null, null, null, null, null, null];
    xIsNext = true;
    winner = null;
  }

  function handleClick(i) {
    if (!squares[i]) {
      squares[i] = xIsNext ? "X" : "0";
      xIsNext = !xIsNext;
      winner = calculateWinner(squares);
    }
  }

  function calculateWinner(squares) {
    const winningCombo = [
      [0, 1, 2],
      [3, 4, 5],
      [6, 7, 8],
      [0, 3, 6],
      [1, 4, 7],
      [2, 5, 8],
      [0, 4, 8],
      [2, 4, 6]
    ];
    for (let i = 0; i < winningCombo.length; i++) {
      const [a, b, c] = winningCombo[i];
      if (squares[a] && squares[a] === squares[b] && squares[a] === squares)
        return `Winner: ${squares[a]}`;
    }

    const isDraw = squares.every(square => square !== null);
    return isDraw ? "It's a draw" : null;
  }
</script>

<style>
  h3 {
    color: red;
  }

  .board {
    display: flex;
    flex-wrap: wrap;
    width: 300px;
  }
</style>

{#if winner}
  <h3>{winner}</h3>
{:else}
  <h3>{status}</h3>
{/if}

<div class="board">
  {#each squares as square, i}
    <Square value={square} handleClick={() => handleClick(i)} />
  {/each}
</div>

{#if winner}
  <button on:click={restartGame}>Restart Game</button>
{/if}
You can now build the production code by typing the following in the terminal:
$ yarn buildThis will generate a public/bundle.js file which contains optimized code ready for production.
The entire code can be found on Github.
You can find the demo of the application here.
Conclusion
In this tutorial, we’ve built a complete game using Svelte. We’ve learned a ton of things by building our Tic Tac Toe game.
Svelte is a radical new compiler that can be used to create blazing-fast web apps. It’s very different from traditional frameworks in the sense that it converts everything down to vanilla JavaScript, which is what makes it super fast.
If you’ve used frameworks like React or Vue, then picking up Svelte should be super easy. Give it a shot, and you won’t be disappointed.
This was just the tip of the iceberg, of course. Check out the official website for more awesome content and the amazing examples section, which contains a ton of examples with a REPL.
Frequently Asked Questions (FAQs) about Svelte Tic Tac Toe
How Can I Customize the Svelte Tic Tac Toe Game?
Customizing the Svelte Tic Tac Toe game is quite straightforward. You can modify the game’s appearance by changing the CSS styles in the App.svelte file. For instance, you can change the color of the game board, the X’s and O’s, or the background. You can also modify the game’s functionality by altering the JavaScript code in the same file. For example, you can change the winning conditions, the turn order, or add new features like a score tracker.
Can I Use Svelte Tic Tac Toe to Learn Svelte?
Absolutely! The Svelte Tic Tac Toe game is a great project to learn Svelte. It covers many fundamental concepts of Svelte, such as components, props, reactivity, and event handling. By studying the code and trying to modify it, you can gain a deeper understanding of how Svelte works.
How Can I Add Multiplayer Functionality to the Svelte Tic Tac Toe Game?
Adding multiplayer functionality to the Svelte Tic Tac Toe game requires some knowledge of web sockets and server-side programming. You would need to set up a server that can handle multiple connections and synchronize the game state between different clients. This is a more advanced topic, but there are many resources available online to help you get started.
Why Does My Svelte Tic Tac Toe Game Not Work?
If your Svelte Tic Tac Toe game is not working, there could be several reasons. First, make sure you have installed all the necessary dependencies and that your development server is running. Second, check your code for any syntax errors or logical mistakes. If you still can’t figure out the problem, consider asking for help on a Svelte community forum or Stack Overflow.
Can I Deploy My Svelte Tic Tac Toe Game Online?
Yes, you can deploy your Svelte Tic Tac Toe game online. There are many hosting services that support Svelte applications, such as Vercel, Netlify, and GitHub Pages. You would need to build your Svelte project into a static website and then upload the build files to your hosting service.
How Can I Make My Svelte Tic Tac Toe Game Responsive?
To make your Svelte Tic Tac Toe game responsive, you can use CSS media queries to adjust the layout and styling based on the screen size. Svelte also supports dynamic styles, which allows you to change the CSS styles based on the state of your application.
Can I Use Svelte Tic Tac Toe to Teach Programming?
Yes, the Svelte Tic Tac Toe game is a great tool for teaching programming. It’s a simple yet engaging project that can help students understand important programming concepts, such as variables, functions, loops, and event handling. Plus, Svelte’s clear and concise syntax makes it easy for beginners to understand.
How Can I Add AI to the Svelte Tic Tac Toe Game?
Adding AI to the Svelte Tic Tac Toe game is a challenging but rewarding task. You could use a simple algorithm like Minimax, which simulates all possible moves and chooses the best one. This would require a good understanding of recursion and game theory.
Can I Use Svelte Tic Tac Toe to Learn Web Development?
Definitely! The Svelte Tic Tac Toe game covers many aspects of web development, including HTML, CSS, JavaScript, and Svelte. By building and modifying the game, you can learn about web design, front-end programming, and reactive frameworks.
How Can I Improve the Performance of My Svelte Tic Tac Toe Game?
Svelte is known for its excellent performance, but there are still ways to optimize your Svelte Tic Tac Toe game. For example, you can minimize re-rendering by using the $: syntax sparingly. You can also use Svelte’s built-in tools for code splitting and lazy loading to reduce the initial load time.
 Akshay Kadam
Akshay is a creator, computer artist and micropreneur from Mumbai.